Two bags, two styles, one single trend. The Japanese knot takes over summer 2025 with two irresistible crochet...
0 prodotti 0
Your cart is empty
Search in blog
Blog categories
Latest posts
-
 Two crochet bags: the Japanese knot tutorial that speaks the language of the Hadid sisters – summer 2025 editionRead more
 -
 Crochet under the sun: summer 2025 fashion to show off with your best friend (handmade hats included!)27/07/2025Read more
Two crochet hats perfect for summer: a bucket hat and a mesh hat — fresh, trendy, and easy to make with our free...
-
 The coolest clutch of summer 2025 — and you can make it in 2 must-have colors. Chiedi a ChatGPT23/07/2025Read more
Two irresistible colors, one project: the most wanted crochet clutch of summer 2025 is easy to make with the...
-
 Athens the crochet bucket bag to show off at the beach20/07/2025Read more
Last project of our Summer Crochet series! Athens is the crochet bucket bag inspired by the colors and elegance of...
-
 Paros the trivet fish a seaside-style decoration for your beach house and beyond17/07/2025Read more
Want to bring a touch of summer and seaside style into your kitchen? With our crochet tutorial, you can make Paros –...
Popular posts
-
 Crochet bags, the models for spring-summer.29/04/2023One of the most searched accessories on the web, patterns, tutorials, ideas, projects, accessories, here's how to...Read more
 -
 Crochet bags for spring summer 2024. 5 models of handmade sling bags.05/04/2024Discover the latest trends for Spring/Summer 2024 with our exclusive guide to 5 crochet sling bag models. Perfect for...Read more
 -
 The Crochet Net Bucket Bag: A Trendy Accessory for 202401/06/2024Learn how to make a crochet net bucket bag with our simple and detailed tutorial. Use elastic cord, a size 5 crochet...Read more
 -
 Crochet rugs, a passion that is becoming a trend.21/01/2024In this article, dive into the art of crochet rugs and discover how to create unique and personalized pieces for your...Read more
 -
 From runways to street style: the trendiest crochet bags.06/09/2023Are you also passionate about handmade items and want to create your own capsule collection of crochet bags? Here are...Read more
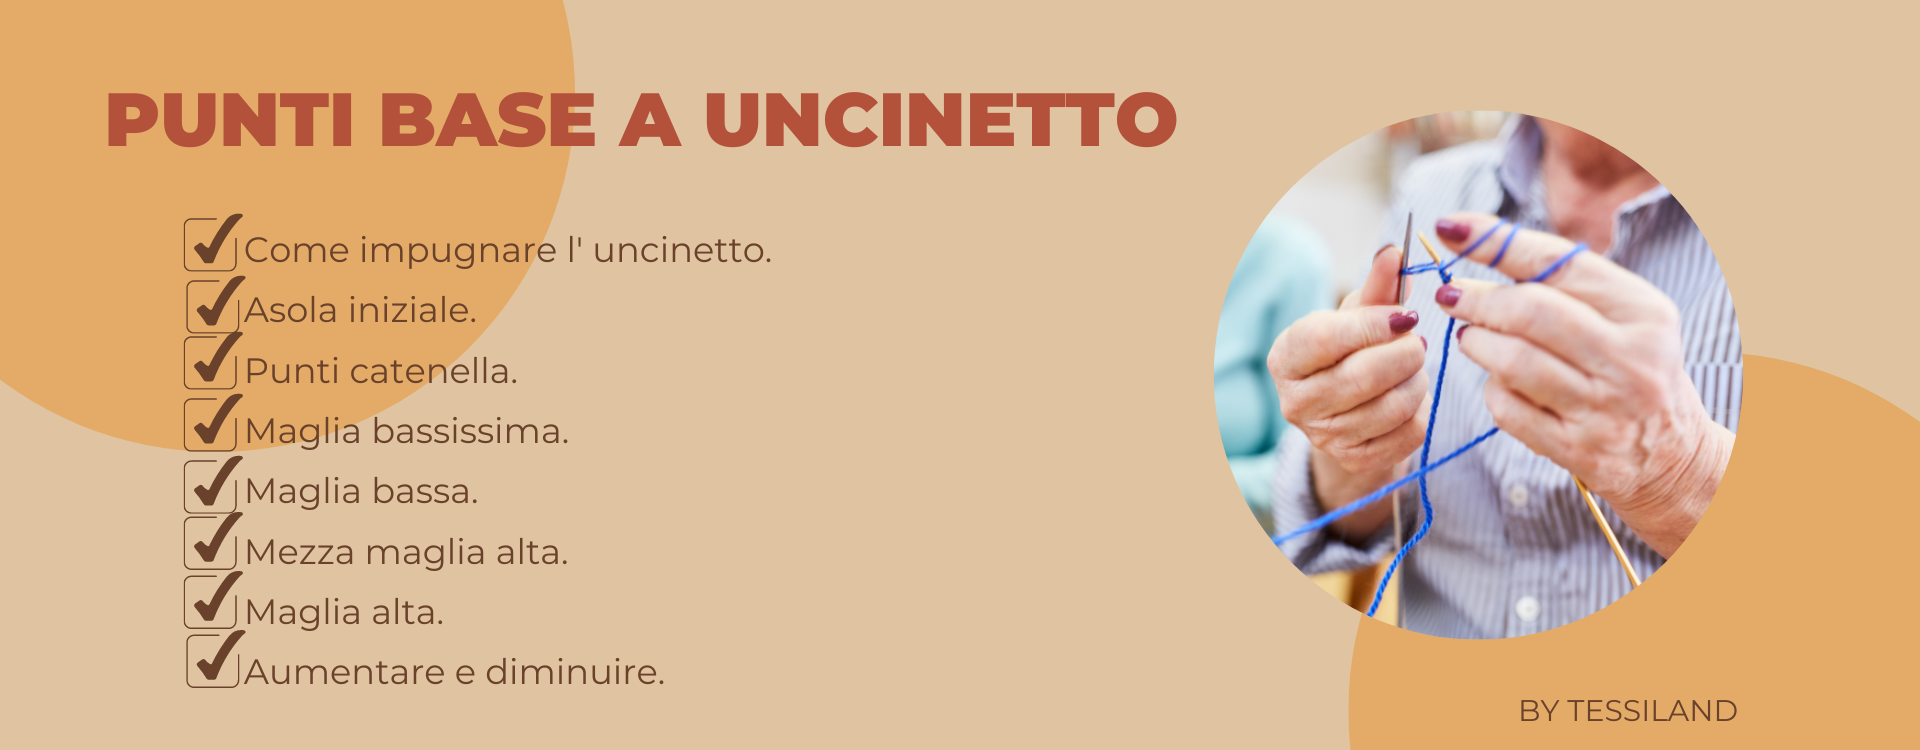
Crochet course: basic stitches.
Handmade saved many people during the pandemic, when the doors of homes were closed and all the news coming in was negative. Many people benefited from the time spent at home; they understood what they wanted to do with their lives, what to let go of and what to try. Many discovered the world of handmade and turned it into a real business, as is also the case with crochet and knitting.
Crochet is no longer a “granny’s” hobby — it has become a wonderful alternative to create customized garments that reflect your personal taste, and more and more people are choosing to turn it into a true profession. Just take a look at the pages born on the web, promoted by well-known influencers like Chiara Ferragni, Giulia Guadino, the Valli sisters, and hundreds more. Today, we want to show you the BASIC TECHNIQUES to approach this world — a useful refresher for many, and the start of a new passion for others.
The basics you need to know for working in crochet.
How to hold the crochet hook.
Doing it correctly is very important, and after some practice, it will help you create even stitches with uniform tension. There are two ways to hold the crochet hook: the pen position and the knife position. Let’s discover them together.
Pen position.
Hold the hook as if you were writing with a pen or pencil, gently gripping it between your fingers and thumb. Turn it so the tip points upward and the hook rests balanced in your hand, lying in the space between your index finger and thumb.
Knife position.
If you are using a large hook and a very fluffy yarn, you might prefer the knife position. For those who crochet frequently, it’s important to avoid putting strain on the arm.
How to hold the yarn.
Take the yarn with the pinky of the hand opposite the hook, palm facing you, with the short tail in front of the finger and the yarn resting in the crease between your pinky and ring finger. Rotate the hand downward, placing the working yarn over your index finger, under the next two fingers, and wrapped around the yarn ball. Then rotate the hand back toward you, ready to hold the work between your middle finger and thumb.
How to hold the hook and yarn while working.
Hold the index finger, with the yarn resting on it, slightly tilted, and hold the work with the same hand, between the middle finger and thumb, just under the hook and the loop on it. As you pull the loop through the hook, loosen the yarn on your index finger to allow the loop to remain soft on the hook. If your index finger is too tight, the yarn will become too taut and the loop too tight to pull the yarn through.
How to hold the hook and yarn for left-handers.
Some left-handed people learn to crochet like right-handers, while others do everything the opposite way, holding the hook in the left hand and the yarn in the right.
Slip knot.
This is a looped knot that you place on the crochet hook to begin any crochet stitch.
- Create a loop with the yarn.
- With one hand, hold the loop at the top where the yarn crosses and let the end fall behind so it lays along the center of the loop. With your free hand or the hook tip, pull the working loop through the ring.
- This forms a loose loop on the crochet hook.
- Gently pull both ends to tighten the loop around the shaft of the hook.
- Make sure the loop is not too tight. It should slide easily along the hook’s shaft.
Chain stitches (ch).
These are the foundation of all crochet. It’s the first stitch you learn because you need a chain length to start the first row or round of any other stitch. As you practice, you’ll also get used to holding the hook and yarn correctly.
- Start by holding the hook tip upward, with the slip knot loose enough to allow room to pull yarn through the loop on the hook.
- Catch the yarn with the hook, wrapping it around the working yarn.
- While holding the yarn, turn the hook tip downward, keeping the knot under the loop on the hook between your thumb and finger.
- Then gently pull the yarn through the loop on the hook. As soon as the hook tip passes through the loop, rotate the tip immediately upward again.
Foundation chain.
This is the length of chains worked to begin a straight crochet piece. The first row of stitches will be worked into it. It’s important to always start with the correct number of foundation chains — if you don’t, the rest of the pattern and stitches won’t line up. Crochet patterns are often worked in multiples or stitch groups, so learning to count chains is essential.
Front of the chain.
The front (or right side) of the chain is the smooth side: each chain forms a small “V.”
Back of the chain.
The back (or wrong side) of the chain is more uneven, with small “bumps.”
Working into the foundation chain.
When you begin the first crochet row, you’ll be instructed to work into the foundation chain. When working stitches into a foundation chain, the first stitch is typically placed in the second, third, or fourth chain from the hook, depending on the height of the stitch. For example, for single crochet, it's the second chain from the hook; for half double crochet, the third; and for double crochet, the fourth. The loop on the hook does not count. The first chain from the hook is where the loop emerges and cannot be worked into — it would unravel.
Always follow the specific instructions in the pattern. The rules for where to insert your hook may vary depending on the project.
How to work the first row into the foundation chain
Working into the foundation chain is always the most tedious part of crocheting. There’s not much to hold onto, and it’s important to avoid twisting the chain so that you always work into the front of the chain.
To make the first stitch in the foundation chain, with the hook tip slightly angled, insert it into the center of the chain, catching the top loop of the chain.
Turning chains
Turning chains are made at the beginning of the row (or round) of the project. They are used to bring the hook up to the correct height for the stitches to be worked in that row.
The pattern will specify whether these chains count as the first stitch or not.
If the instructions specify a different number of turning chains than the usual number listed here, always follow the pattern.
Counting chains
To count the chains in a foundation chain, lay it flat on a surface with the right side facing up and count each “V” as one chain. Always count the chains from the front of the chain (the end closest to the hook) and do not count the loop on the hook as a chain.
Slip stitch (sl st)
This is the shortest stitch and is usually worked into other stitches rather than into a foundation chain, as it’s rarely used to create an entire crochet piece. It’s mainly used to join rounds or to move the yarn neatly across the tops of stitches without fastening off. It also serves as a joining stitch (see Lesson 1, page 30).
1 To make a slip stitch, first insert the hook into the stitch (chain or chain space). Then yarn over (a wrap).
2 Pull the yarn through both the stitch (chain or space) and the loop on the hook at the same time, leaving one loop on the hook.
Single crochet (sc)
The single crochet is the most commonly used stitch. It creates a dense fabric. If you're a beginner, it's the best stitch to start with because it's the easiest to learn.
- 1 Make a foundation chain, then insert the hook into the second chain from the hook. Yarn over, bringing the hook behind the yarn. Pull the yarn through the chain only, with the hook pointing downward. As soon as the yarn passes through, immediately turn the hook upward. This helps keep the loop on the hook and prevents it from slipping off. Keep the hook in a horizontal position.
- You will now have two loops on the hook. Yarn over again (with the hook in front of the yarn), turn the hook downward, and pull the yarn through both loops, turning the hook upward again as soon as the yarn is pulled through.
- You will now have one loop left on the hook. Keep the hook pointed upward (this is the base position until you begin the next stitch). Continue to work one single crochet in each chain until you reach the end of the foundation chain.
- Then turn your work to begin the next row. Make one chain stitch and work the first single crochet into the top of the first single crochet from the previous row (going under both top loops). Work one single crochet into each single crochet from the previous row until the end of the row.
- For all following rows, repeat step 4.
Half double crochet (hdc)
The half double crochet is taller than the single crochet. You yarn over before inserting the hook into the stitch (or space), and once the yarn is pulled through, you will have three loops on the hook. The middle loop comes from the yarn over. Before trying to pull the yarn through all three loops, make sure the loops are straight and loose on the hook so that you can complete the stitch easily.
- 1 Start with a foundation chain as usual. Before inserting the hook, yarn over. Then, with the yarn wrapped around the hook, insert it into the third chain from the hook. Yarn over again (as shown by the arrow).
- Pull the yarn through the chain. You now have three loops on the hook. Yarn over again and pull through all three loops on the hook.
- You will be left with one loop on the hook. Continue to work a half double crochet in each chain until the end of the foundation chain.
- Then turn your work to begin the next row. Make two chain stitches. Work one half double crochet in each half double crochet of the previous row until the end of the row.
- For all following rows, repeat step 4.
Double crochet (dc)
This is a very common stitch; it creates a looser fabric compared to the single crochet and half double crochet, and it is taller than both.
As with the half double crochet, you yarn over before inserting the hook into the stitch (or space), and then pull the yarn through the stitch to get three loops on the hook. The middle loop comes from the yarn over. Before trying to pull the yarn through the remaining two loops, make sure all loops are straight and loose on the hook so you can easily finish the stitch.
- Before inserting the hook into the work, yarn over. Then, with the yarn on the hook, insert it into the fourth chain from the hook. Yarn over again (as shown by the arrow).
- Pull the yarn through the chain. You now have three loops on the hook. Yarn over again and pull through the first two loops on the hook.
- You now have two loops on the hook. Yarn over again and pull through the remaining two loops.
- You will have one loop left on the hook. Continue to work a double crochet in each chain to the end of the foundation chain.
- Then turn your work to begin the next row. Make three chain stitches. Work one double crochet in each double crochet of the previous row until the end of the row.
- For all following rows, repeat step 5.
Increasing
You can increase by working two or three stitches into one stitch or space from the previous row. The illustration shows an increase of two stitches worked into a double crochet.
Decreasing
You can decrease by skipping the next stitch and continuing to work, or by working two or more stitches together. The basic technique for working two stitches together is the same for all stitch types.
The following example shows two single crochets closed together (2 sc tog).
- Insert the hook into the stitch, yarn over (a wrap), and pull through the stitch (two loops on the hook). Insert the hook into the next stitch, yarn over and pull through.
- Yarn over again and pull through all three loops on the hook. You now have one loop on the hook.


