Two bags, two styles, one single trend. The Japanese knot takes over summer 2025 with two irresistible crochet...
0 prodotti 0
Your cart is empty
Search in blog
Blog categories
Latest posts
-
 Two crochet bags: the Japanese knot tutorial that speaks the language of the Hadid sisters – summer 2025 editionRead more
 -
 Crochet under the sun: summer 2025 fashion to show off with your best friend (handmade hats included!)27/07/2025Read more
Two crochet hats perfect for summer: a bucket hat and a mesh hat — fresh, trendy, and easy to make with our free...
-
 The coolest clutch of summer 2025 — and you can make it in 2 must-have colors. Chiedi a ChatGPT23/07/2025Read more
Two irresistible colors, one project: the most wanted crochet clutch of summer 2025 is easy to make with the...
-
 Athens the crochet bucket bag to show off at the beach20/07/2025Read more
Last project of our Summer Crochet series! Athens is the crochet bucket bag inspired by the colors and elegance of...
-
 Paros the trivet fish a seaside-style decoration for your beach house and beyond17/07/2025Read more
Want to bring a touch of summer and seaside style into your kitchen? With our crochet tutorial, you can make Paros –...
Popular posts
-
 Crochet bags, the models for spring-summer.29/04/2023One of the most searched accessories on the web, patterns, tutorials, ideas, projects, accessories, here's how to...Read more
 -
 Crochet bags for spring summer 2024. 5 models of handmade sling bags.05/04/2024Discover the latest trends for Spring/Summer 2024 with our exclusive guide to 5 crochet sling bag models. Perfect for...Read more
 -
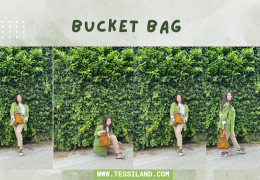 The Crochet Net Bucket Bag: A Trendy Accessory for 202401/06/2024Learn how to make a crochet net bucket bag with our simple and detailed tutorial. Use elastic cord, a size 5 crochet...Read more
 -
 Crochet rugs, a passion that is becoming a trend.21/01/2024In this article, dive into the art of crochet rugs and discover how to create unique and personalized pieces for your...Read more
 -
 From runways to street style: the trendiest crochet bags.06/09/2023Are you also passionate about handmade items and want to create your own capsule collection of crochet bags? Here are...Read more
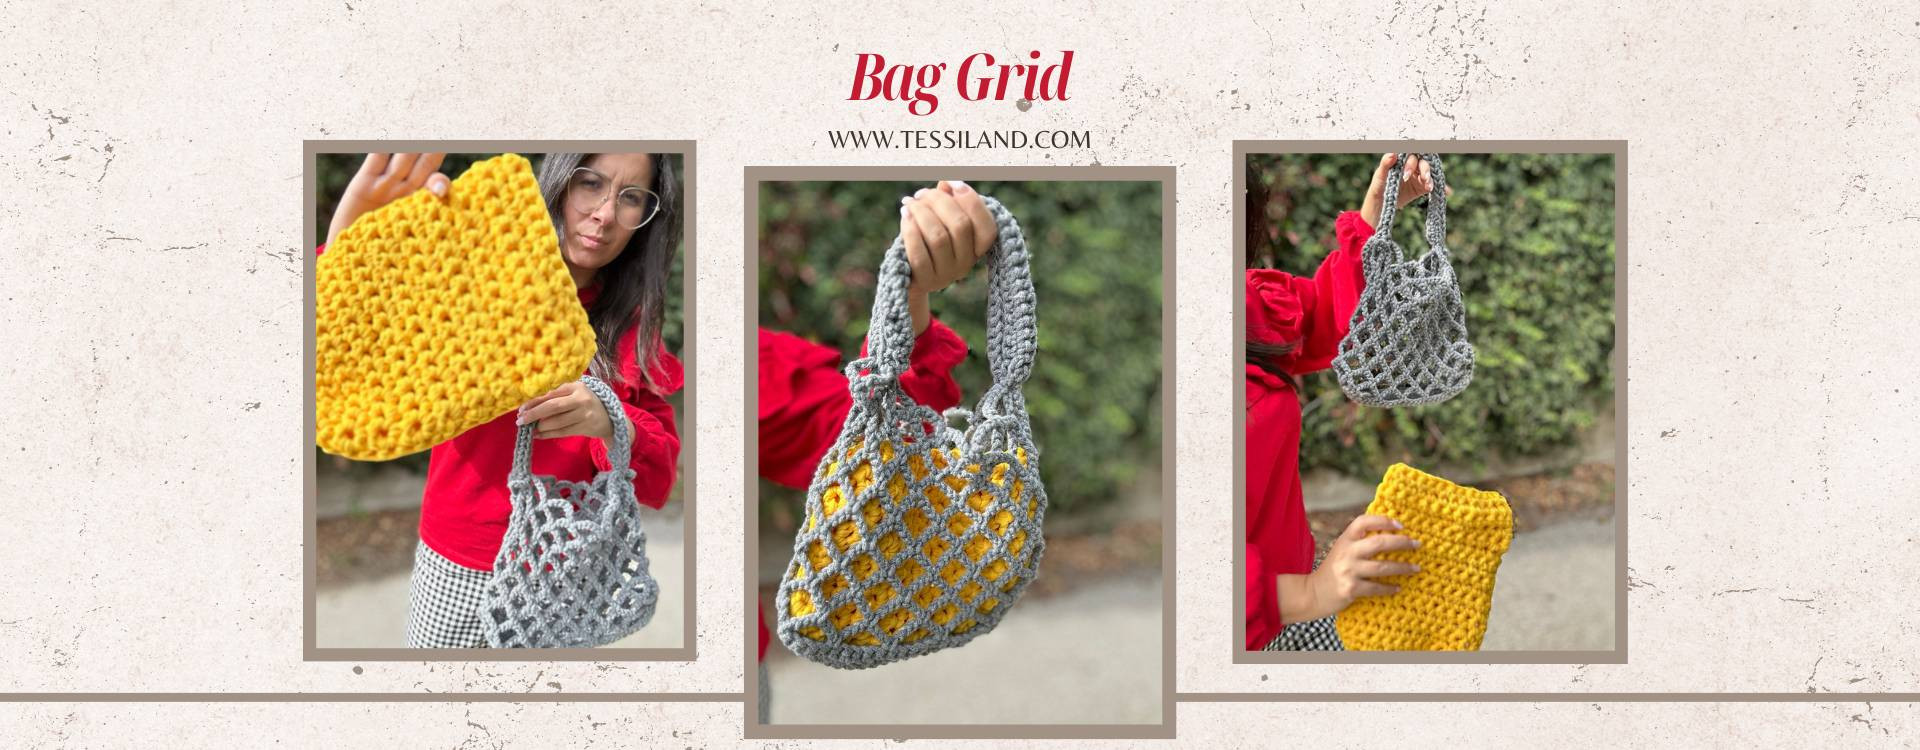
GRID Bag, the net bag for autumn.
Happy start of the week Tessilandini,
this week we want to introduce you to a new bag model that combines the beauty of two of our top products, I’m talking about the lycra ribbon and the ternes cord.
I thought of working on a project suitable for everyone, even beginners like me, and so I opted for the creation of a rectangular inner pouch and an outer net body. Let's discover what is needed to make it.
MATERIALS NEEDED TO MAKE THE ''GRID'' BAG.
- A spool of yellow LycraLight.
- lycra
- A spool of Freddy Ash.
- freddy
- CROCHET N. 9 AND N. 6.5
- crochet hook crochet hook
How to make the inner pouch.
We start by chaining 25 stitches, turn the work skipping the first one and proceed with a single crochet in all the following stitches. Once at the end, make one chain, turn the work and repeat with single crochets.
Of course, I chose 25 chains because I wanted a size that’s not too big, but you’re free to continue as you like.
Once the desired size is reached, I folded the panel in half and went around with slip stitches on three sides, leaving one side without stitches so it becomes the opening of the pouch.
Inner pouch successfully completed, now let's move on to the net bag.
How to crochet the net bag.
Bag base:
A few months ago, we already had the opportunity to create a net bag together, the procedure is the same but I’ve only resized the number of starting chains. For those who missed it, here you can find the article on the net bag.
I chained 27 stitches with the freddy cord, then used the same technique as for the inner pouch, to create a sort of base for the bag, skipping the first chain, and going back with 1 single crochet, chaining one, turning the work, and again single crochet for the entire row. I continued like this for 5 rows.
Creating the net:
When working the last stitch of the row, instead of continuing with 1 chain, we make 9 chains, skip 4 stitches, and slip stitch into the 5th stitch.
Net round:
Continue like this for the whole round, making sure that the single crochet is at the mid-height.
Closing the round:
At the last stitch, before closing with 1 slip stitch, make 3 chains and close with 1 treble crochet. Place a stitch marker.
Bag height:
Proceed with 9 chains and close in the middle of the 9 previously worked chains. Continue until the desired height is reached. I cut the threads and hid them inside the body to keep the work clean.
Creating handles.
I inserted the crochet hook in the middle of the diamond shape created by the netting, worked 31 chains to create a handle to carry by hand or over the shoulder, secured it with a slip stitch at the other end of the netting, chained 1 and returned along the row with single crochets, secured it with a slip stitch at the start of the bag body and continued like this for 3 rows, then joined them with a single crochet all around to create a thicker handle.
I repeated the same for the other side, ending up with two handles.
I inserted the lycra pouch into the net creation and the bag is ready.
Rosaria Tessiland®
.jpg)

